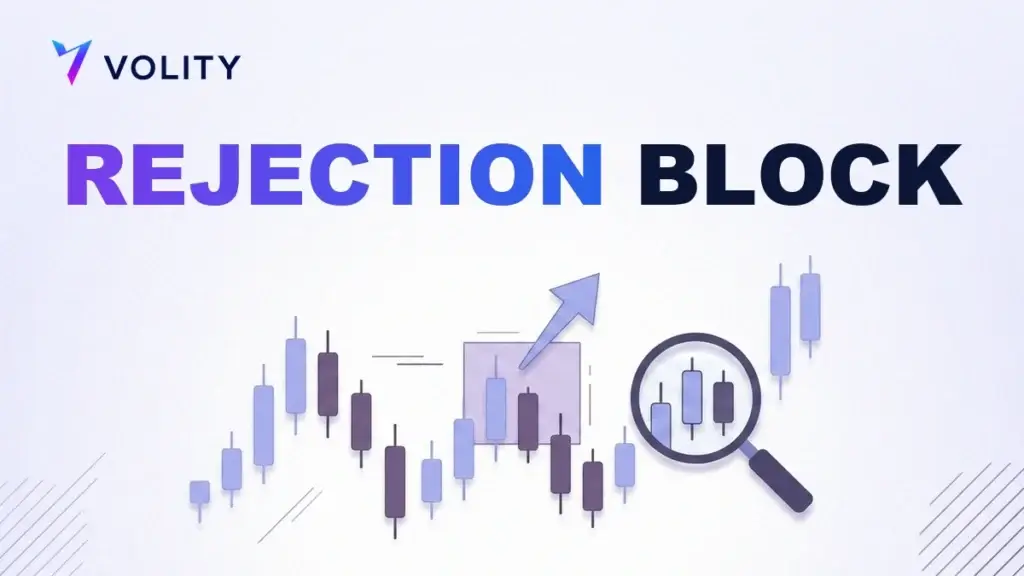
A rejection block is a smart-money zone drawn from the long wicks at a sharp swing high or low, the spot where price was rejected hard and turned. An order block is built from candle bodies. A rejection block is built from the wicks. Traders mark the zone and wait, because when price trades back to it the level often rejects a second time.
What is a rejection block?
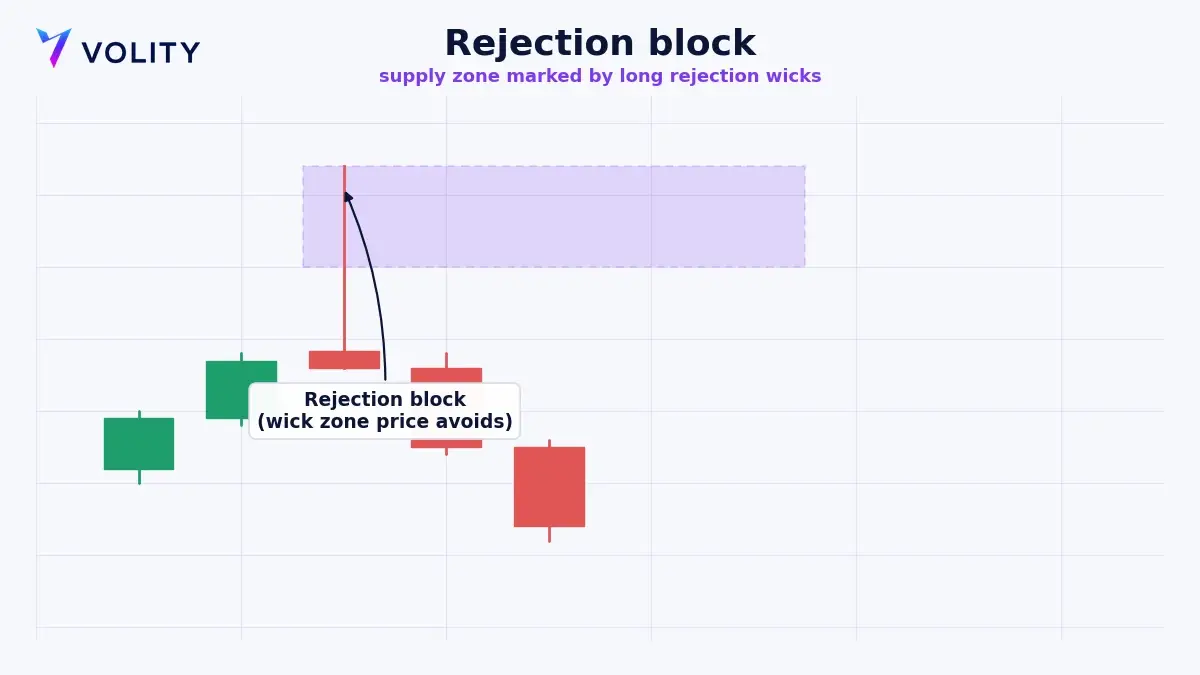
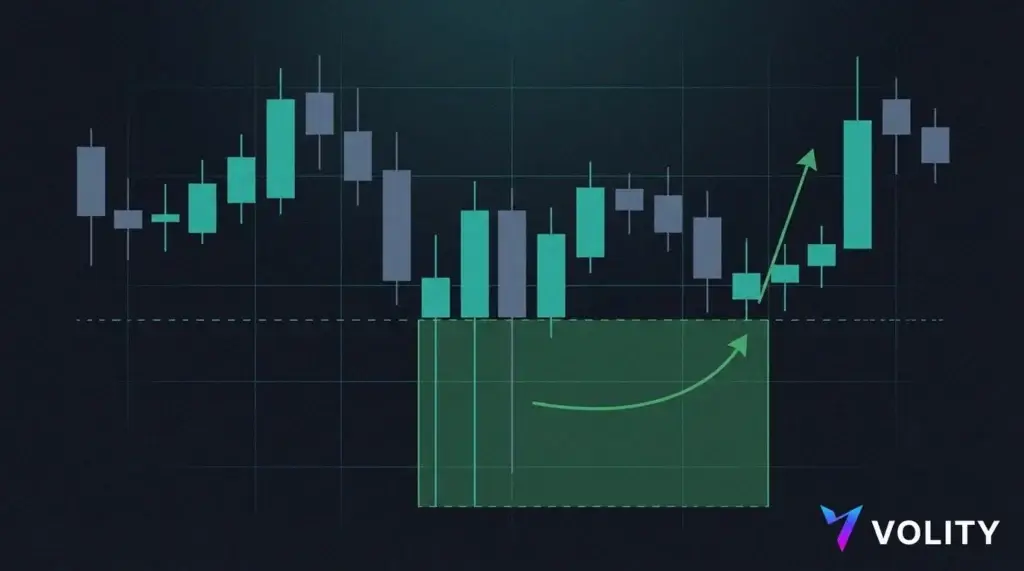
A rejection block is an Inner Circle Trader concept that marks a point of violent rejection. Price surges into a level, prints one or more candles with long wicks, then reverses. Those wicks, the thin shadows above and below the body on a Japanese candlestick, are the evidence that orders overwhelmed the move at that price. The zone the wicks carve out becomes a reference the next time price trades back toward it.
The idea sits inside the wider family of smart money concepts. An order block looks for the last institutional candle before a move. A rejection block looks for the spot where price was slammed back so hard it left a long tail. Both try to find the footprint of the large orders that turned the market, then use it again.
Rejection block vs order block: what is the difference?
This is the distinction that defines the concept. Both are zones, but they come from different parts of the candle and they mark different things.
| Feature | Rejection block | Order block |
| Drawn from | Candle wicks at the extreme | Candle bodies before the move |
| Marks | A point of sharp rejection | The last opposite candle before displacement |
| Best at | Spiky swing highs and lows, often after a liquidity grab | Clean impulsive breaks of structure |
| Typical use | Fade the return to the wick zone | Join the trend on the retracement |
The two work together. An order block tends to form on a controlled move, while a rejection block shows up where the turn was messy and wick-heavy. A single long upper wick, like a shooting star, is the one-candle version of the same rejection, so both ideas often print at the same turn.
How do you draw a rejection block on a chart?
- Find a sharp swing high or low where price was rejected, marked by candles with clearly longer wicks than bodies.
- For a bearish rejection block at a high, draw the box from the open or close of the bodies up to the tip of the highest wick.
- For a bullish rejection block at a low, draw the box from the bodies down to the lowest wick tip.
- Keep the zone tight. If the wicks are scattered across many candles, the rejection was not clean and the block is weaker.
- Note the level that was rejected. A block that sits at a prior swing or a round number carries more weight than one floating mid-range.
How do you approach rejection block trading?
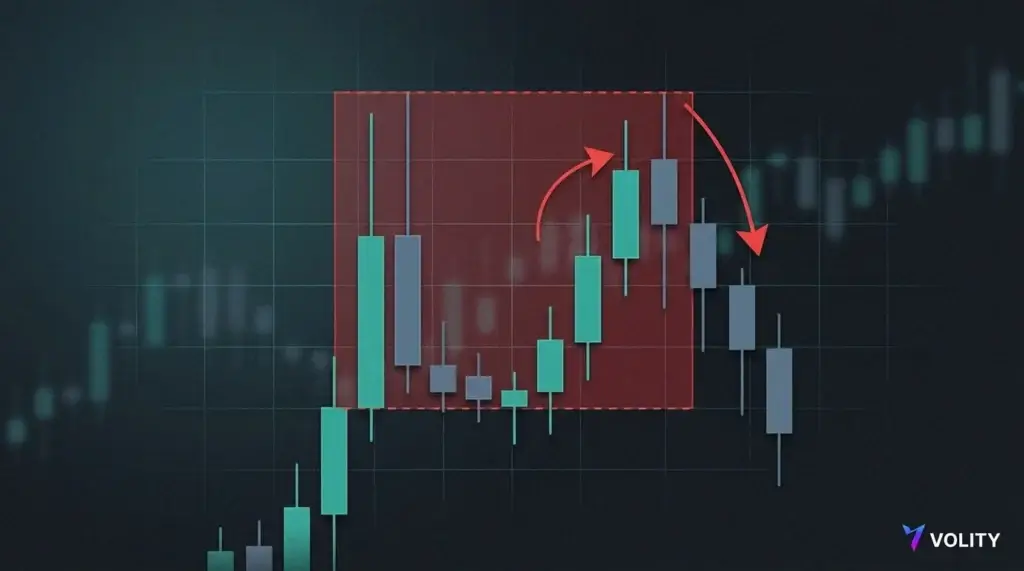
Rejection block trading is a fade. You are betting that price which was rejected once will be rejected again when it returns, because the orders that caused the first turn tend to leave residual supply or demand behind.
- Wait for price to trade back into the block instead of chasing the first move.
- Look for a reaction inside the zone, such as a lower-timeframe rejection or a small break of structure in your direction.
- Enter on that reaction, with the stop just beyond the wick tip that defines the block.
- Target the opposite side of the range or the nearest pool of liquidity.
- Skip it if price closes decisively through the block. A clean close beyond means the rejection has been overrun.
The stop is tight because the wick tip is a line in the sand, and that is what makes the setup pay on reward-to-risk. Line the entry up with a nearby fair value gap and the timing gets sharper still.
The same read works upside down at a swing low. There the block is built from long lower wicks, often a hammer or pin bar, and you fade the return by buying the zone rather than selling it.
Why do most traders miss the rejection block?
Because it hides in the part of the candle most people ignore. New traders are taught to watch closes and bodies when reading candlesticks, so a zone built from wicks feels backwards. The wick is where the information sits, and most candlestick pattern guides barely dwell on it. A few habits cause the miss.
- Drawing every zone from candle bodies, so the wick zone never gets marked in the first place.
- Throwing a level away once an order block is run through, when the long wick left behind is often a rejection block that still holds.
- Treating the first touch as an automatic trade, when the block is only a zone of interest and the reaction inside it is the real trigger.
Rejection blocks tend to be at their best right after a liquidity grab, where a spike runs the stops and leaves a long wick. That wick is both the grab and the block, which is why the two show up together so often.
How does a rejection block combine with other SMC tools?
On its own, a rejection block is a decent level. Stack it with other signals and it becomes a high-probability zone. That layering is ordinary technical analysis: the more independent reasons a level has to hold, the better the odds it does.
- A fair value gap sitting just inside or beside the block gives price extra reason to react to the same area.
- A liquidity grab that spikes through a level to take stops and then reverses leaves the long wick that forms the block.
- A block that lands on a daily swing, a prior order block, or a round number carries far more weight than one floating in the middle of a range.
- A market structure shift on a lower timeframe, after price rejects the block, confirms the reaction rather than leaving you to assume it.
The more of these you demand, the better rejection block trading gets. A lone wick zone is close to a coin flip. The same zone at a daily level, formed on a liquidity grab, with a fair value gap alongside, is the kind of setup worth risking on. Confluence does not promise anything. It tilts the odds, and it keeps you out of the many rejection blocks that never had a reason to hold.
Putting the rejection block to work on Volity
A rejection block is a precision tool, so the platform you trade on has to render wicks cleanly and fill you at the price you meant. Volity runs CFD trading across forex, indices, commodities, and crypto from one account, with charts on the Volity platform that make wick zones easy to mark and come back to. Execution runs on Volity MT, and the trading layer is regulated by CySEC under UBK Markets, licence 186/12. Because the stop sits at a specific wick tip, tight execution and a fair spread are what protect the reward-to-risk, so check the cost for your instrument on the charges and fees page and rehearse the read on a demo account before you go live.
CFDs are leveraged products, so size every position from its stop distance. A rejection block helps you define your risk. It does not remove it.
Rejection block FAQ
Is a rejection block the same as an order block?
No. An order block is drawn from candle bodies and marks the last opposite candle before an impulsive move. A rejection block is drawn from candle wicks and marks a point of sharp rejection at a swing high or low. They can show up at the same turn, but they use different parts of the candle and often suit different entries.
Which timeframe works best for a rejection block?
Higher timeframes such as the 1-hour, 4-hour, and daily give cleaner, more respected rejection blocks, because each wick represents more orders. Many traders find the block on a higher timeframe, then drop to a lower one to time the entry when price returns. Very low timeframes throw up more blocks and more failures.
Do rejection blocks work in crypto and indices?
Yes. A rejection block is a price-action concept, so it works on any liquid market with visible wicks, including major forex pairs, index CFDs, gold, and large-cap crypto. Volatility differs between them, so the zone width and stop distance change, but the logic of fading a return to a sharp rejection stays the same.
What invalidates a rejection block?
A decisive candle close beyond the block. If price returns and closes cleanly through the wick zone instead of reacting inside it, the orders that drove the first rejection have been absorbed, and the level should be dropped. Waiting for a reaction inside the zone, rather than assuming one, keeps you out of overrun blocks.