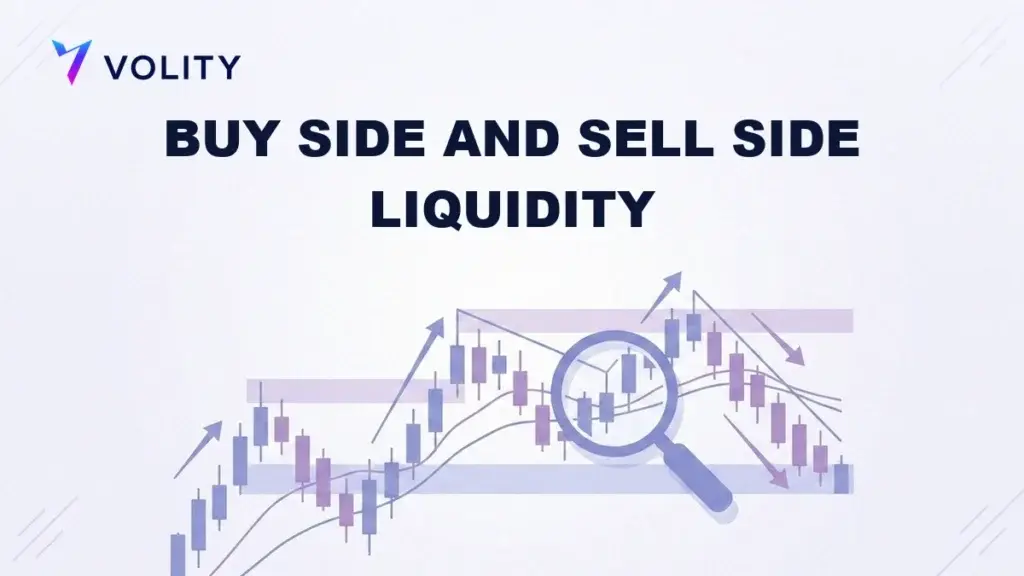
Buy-side liquidity is the pool of buy orders resting above the current price, mostly the protective stop-losses of short sellers plus the breakout orders of traders waiting to buy higher. Sell-side liquidity is the mirror pool of sell orders resting below price. Large players push price into these pools to fill their own size, which is why the market so often reaches for the obvious levels where everyone else has left orders.
What is buy-side liquidity?
Buy-side liquidity is the supply of buy orders waiting above the current price. It is made of two things: the stop-losses of traders who are short, which turn into buy orders once triggered, and the breakout orders of traders who want to buy if price breaks higher. Both fire when price rises into them, so the zone above recent highs holds a reservoir of buying that the market can tap.
This matters because a large institution that wants to sell needs buyers to sell into. The densest pool of ready buyers sits above the highs in the order book, so pushing price up into buy-side liquidity gives a seller the volume to offload size. That is the mechanism behind many sharp pushes to a new high that reverse almost at once.
What is sell-side liquidity?
Sell-side liquidity is the mirror image: the supply of sell orders waiting below the current price. It is made of the stop-losses of traders who are long, which turn into sell orders once triggered, and the breakout orders of traders who want to sell if price breaks lower. When price drops into that zone below recent lows, those orders fire and release a wave of selling.
A large institution that wants to buy needs sellers, and the densest pool of ready sellers sits below the lows. Driving price down into sell-side liquidity lets a buyer accumulate size against those released stops, which is why a clean break below support often snaps straight back up. Both ideas sit at the heart of the smart money concepts that institutional traders use to read market structure instead of the surface story of a chart.
Buy-side liquidity and sell-side liquidity: what is the difference?
| Feature | Buy-side liquidity | Sell-side liquidity |
| Sits | Above price, over the highs | Below price, under the lows |
| Made of | Short-sellers’ stops plus breakout buy orders | Longs’ stops plus breakout sell orders |
| Fires when | Price rises into it | Price falls into it |
| Often used by | Large sellers needing buyers | Large buyers needing sellers |
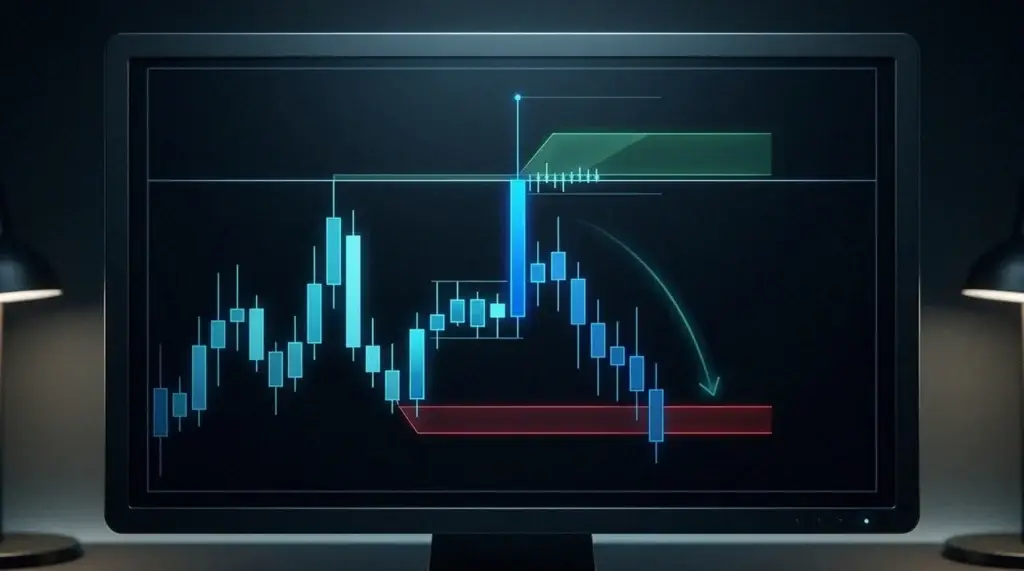
Reading buy-side liquidity and sell-side liquidity together is the point. Price rarely moves in a straight line. It tends to travel from one pool to the other, taking sell-side liquidity below the lows, then buy-side liquidity above the highs, in a repeating cycle that maps out ranges and trends.
Why is buy-side liquidity above price?
This is the part that trips up newcomers, because it feels backwards. If it is called buy-side, why does it sit above the market rather than below where buyers wait? The label describes the kind of order that will fire there, which is why a zone made of buy orders can sit above the current price.
Above the highs sit buy orders: short traders’ protective stops and breakout buyers. Those are buy-side orders, so the zone is buy-side liquidity, even though it is overhead. Below the lows sit sell orders, making that zone sell-side liquidity. Fix the idea in terms of the orders that trigger and the geography stops feeling strange.

Where do liquidity pools form?
- Swing highs and swing lows are the first place to look, because those obvious extremes attract both stops and breakout orders.
- Equal highs and equal lows are richer still. Two or more touches of one level look like firm support or resistance, so orders stack tightly and the pool fills up.
- Range boundaries collect orders from breakout traders and mean-reversion traders alike, at the top and bottom of a consolidation.
- Round numbers and prior session highs and lows gather orders for their own sake, because those prices carry psychological weight.
How do you trade buy-side and sell-side liquidity?
- Mark the pools first: equal highs and swing highs for buy-side, equal lows and swing lows for sell-side.
- Anticipate the raid. Price often reaches for the nearest untapped pool of liquidity before it makes its real move.
- Wait for the pool to be taken and for price to reject it, the grab or sweep that pokes past the level and then fails to hold.
- Enter on the reversal, with the stop just beyond the swept extreme rather than inside the pool.
- Target the opposite pool. A raid on sell-side liquidity often travels back toward the buy-side liquidity above, and the other way round.
Thinking in terms of pools reframes the whole chart. Instead of asking whether a level will hold, you ask which pool price is likely to reach for next, and you position for the reaction that follows rather than the raid itself.
What are the common liquidity mistakes?
- Reading the labels literally is the first trap. Buy-side sits above and sell-side below, and getting that backwards inverts every plan you build on it.
- It is just as easy to buy the raid. A push into buy-side liquidity looks bullish, yet it often marks a top right before the reversal, so wait for the reaction before you act.
- Watch where you park your stop, too. If your stop-loss sits at the obvious level, it becomes part of the liquidity that gets taken.
- And never ignore the opposite pool. Without a target on the other side, a liquidity trade has no defined objective.
How does liquidity connect to order blocks and fair value gaps?
Liquidity answers where price wants to go. Order blocks and fair value gaps answer where you get in. Putting the two ideas together is what turns a liquidity map into an actual trade.
The sequence usually runs like this. Price reaches for a pool of buy-side or sell-side liquidity and takes the stops resting there. That raid often leaves an order block or a fair value gap behind, the footprint of the strong move that grabbed the liquidity. Price then pulls back into that zone, and the return is your entry, with the opposite pool as the target. Liquidity is the reason for the move, and the point of interest is the trigger for the trade.
In practice that gives each part of the trade a job. The liquidity pool on the far side becomes the target, so a position taken from an order block has somewhere defined to go. The order block or fair value gap left behind by the grab gives you the entry, because that is where price is likely to react on the return. And once structure shifts after the pool is taken, you have your confirmation that the raid is finished and the zone is ready to work.
Read this way, buy-side and sell-side liquidity stop being isolated levels and become the logic behind a full trade idea, joining the map of the chart to a specific, repeatable entry.
Putting liquidity to work on Volity
Trading liquidity pools means reacting quickly the moment a level is taken, so execution quality counts. Volity offers CFD trading across forex, the deepest and most liquid market there is, plus indices, commodities, and crypto from one account on Volity MT, so you can map buy-side and sell-side liquidity on any of them with the same method. Spreads start from 0.6 pips, 99.6% of orders fill in under a second, and leverage runs up to 1:500 on selected forex pairs, all regulated by CySEC through UBK Markets under licence 186/12. You can open an account for nothing, invest from as little as $1, and start trading from $1, using your own capital plus leverage rather than a funded account. The charts on the Volity platform make it easy to mark equal highs and lows and to keep a stop beyond a swept extreme instead of inside the pool. Check your instrument’s spread on the charges and fees page, and practise the raid-and-reverse read on a free demo before you trade it live.
One note on risk. CFDs are leveraged products, and most retail accounts lose money trading them, which is why bodies such as the FCA and ESMA restrict how they are sold to retail traders. Size each position on purpose and never risk more on a liquidity trade than you can afford to lose.
Buy-side and sell-side liquidity FAQ
Is buy-side liquidity above or below price?
Above price. Buy-side liquidity is the pool of buy orders resting over the highs, made up of short sellers’ stop-losses and breakout buy orders. It takes its name from the order type that fires there, those resting buy orders that sit above the highs. Sell-side liquidity is the opposite, sitting below the lows as a pool of sell orders.
Why does price move toward liquidity?
Because large orders need counterparties. An institution buying in size needs a wave of sellers, which sits as sell-side liquidity below the lows. One selling in size needs buyers, which sits as buy-side liquidity above the highs. Reaching into these pools releases the resting orders and provides the volume to fill a large position without moving price too far against itself.
How do I identify liquidity on a chart?
Look for the obvious levels where orders cluster: swing highs and lows, equal highs and equal lows, range boundaries, round numbers, and prior session extremes. Buy-side liquidity gathers above the highs, sell-side liquidity below the lows. The cleaner and more obvious the level, the richer the pool, because more traders leave stops and breakout orders there.
Does liquidity trading work in crypto?
Yes. Crypto markets are full of obvious levels and clustered stops, so buy-side and sell-side liquidity apply directly to large-cap coins, just as they do to forex and index CFDs. Crypto’s higher volatility means wider zones and larger stop distances, but the logic of price reaching for a pool and reversing after the raid stays the same.